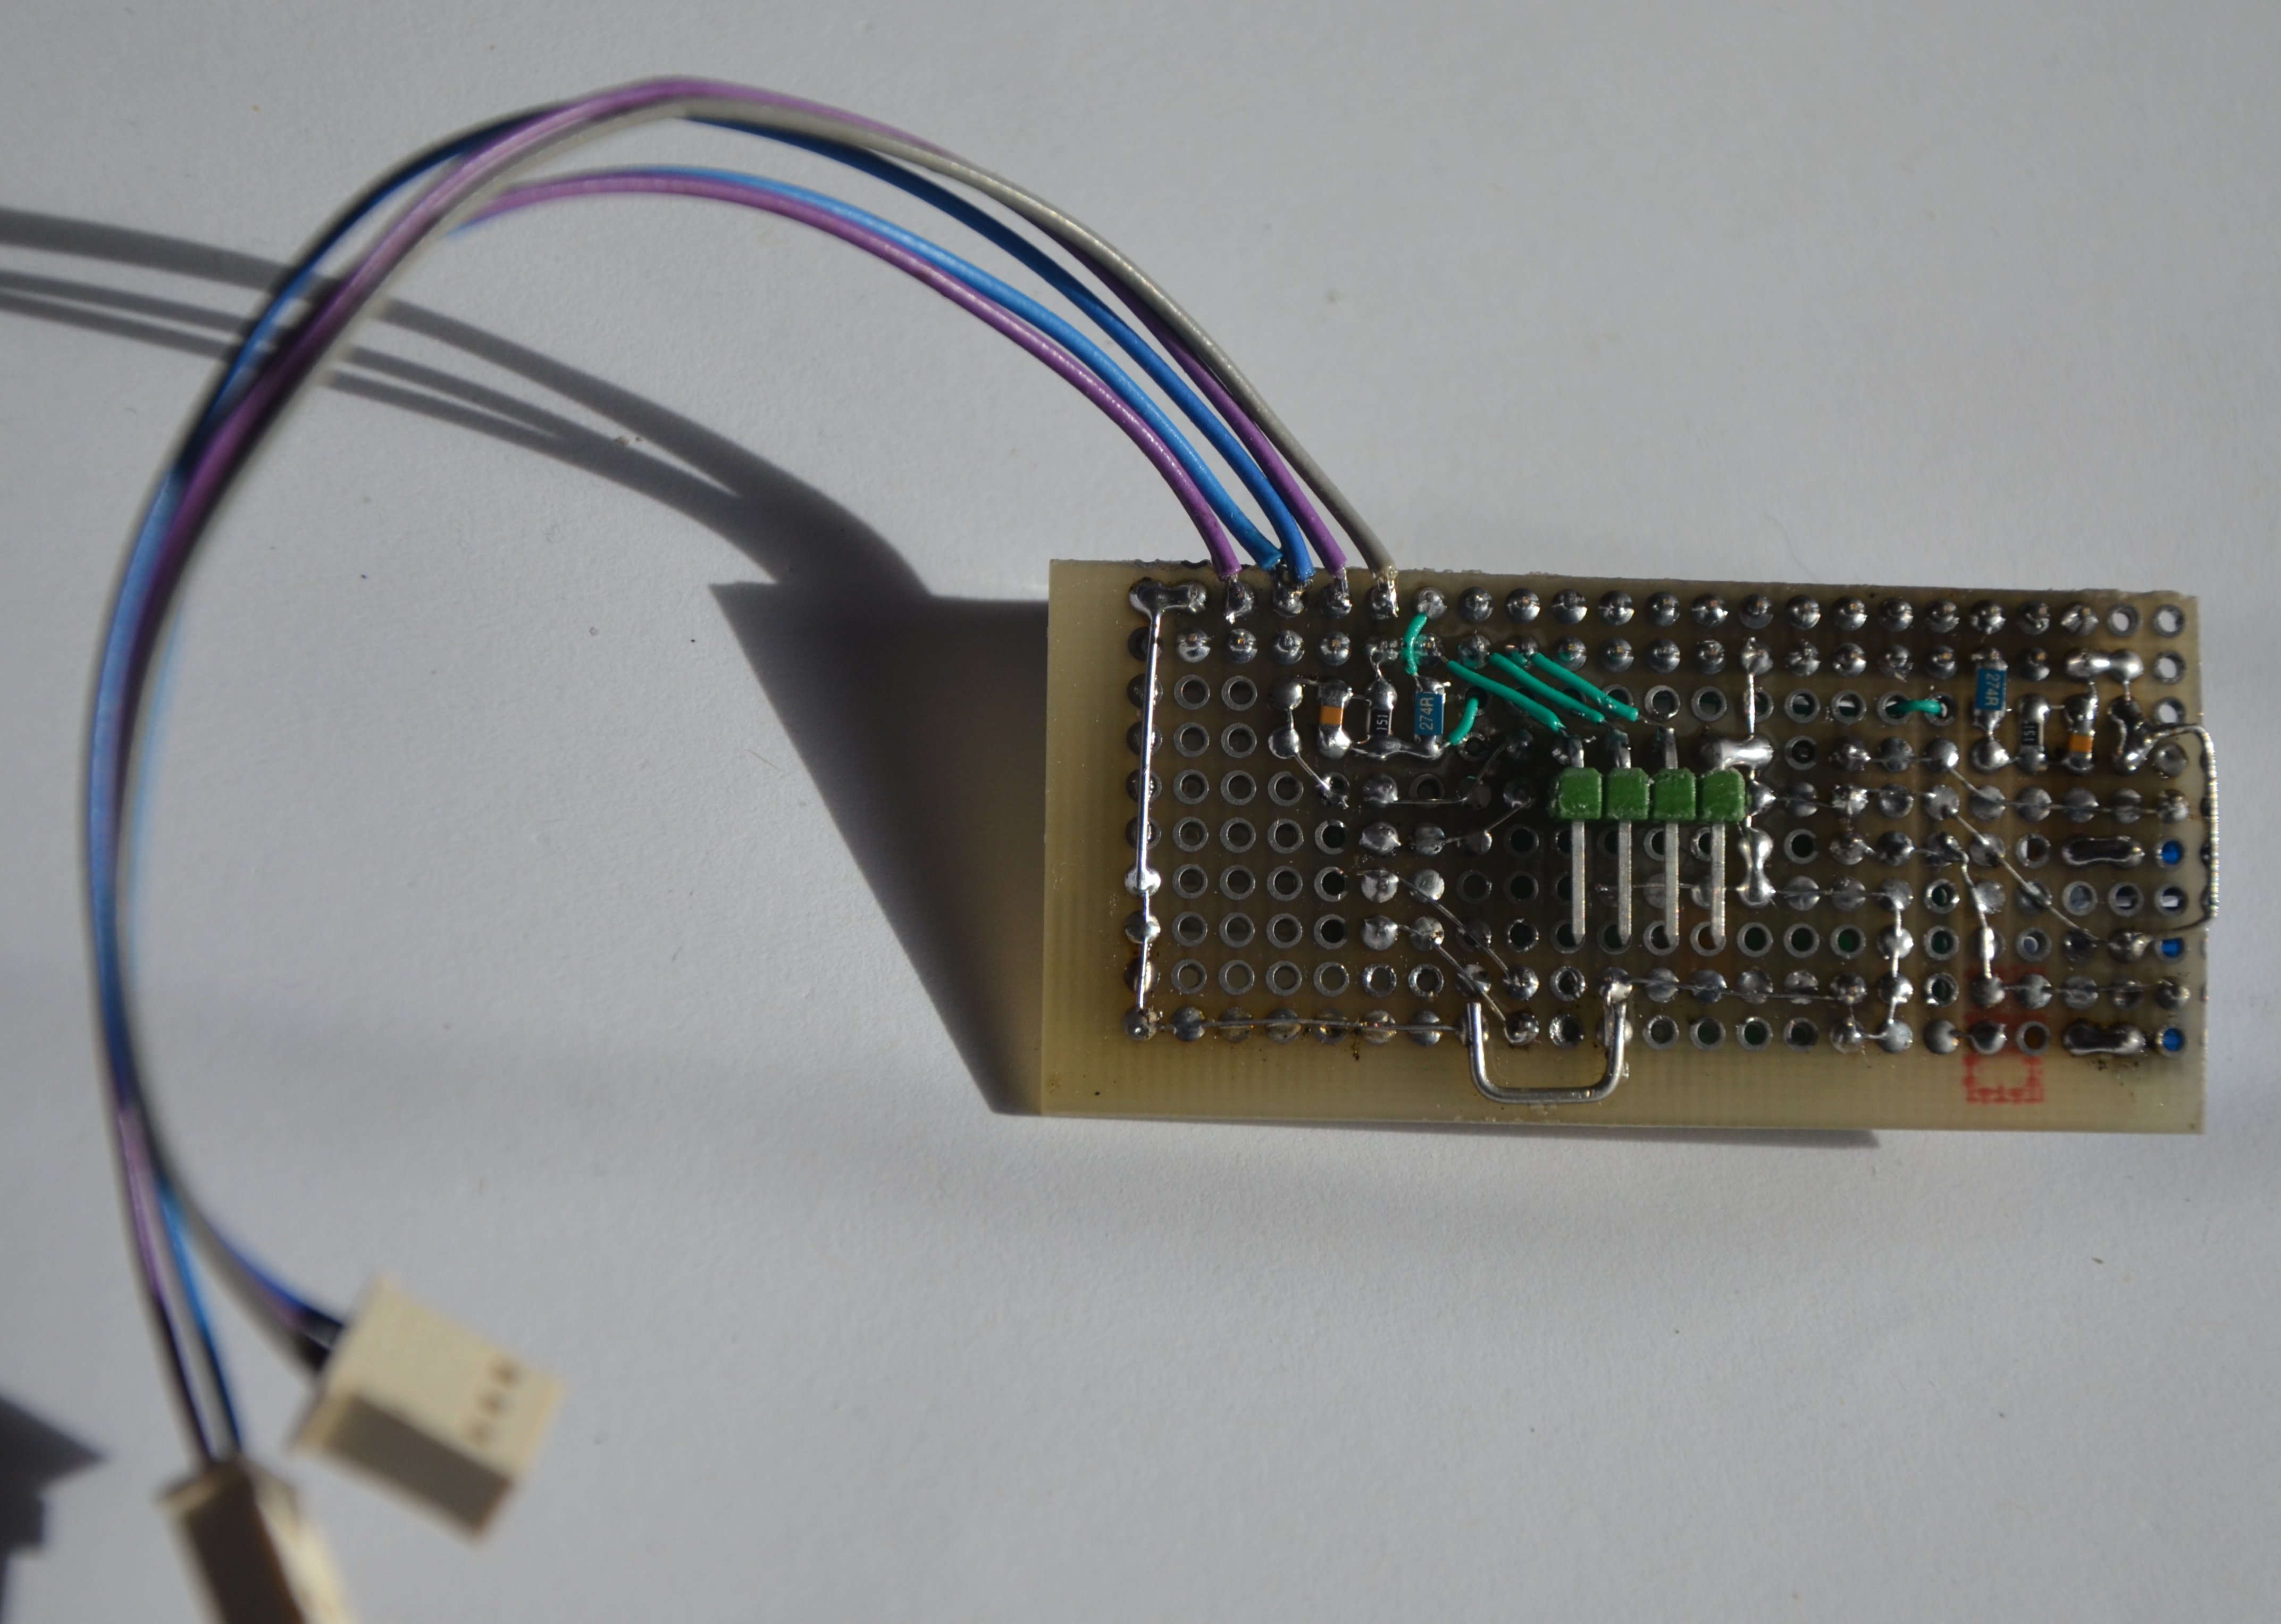
Hardware
Software
Details
The 'RTTY.com' site operates an interesting AFSK modulation streaming service which can demodulated by any TU (Terminal Unit).
However this requires to connect the audio line of your computer to a TU equipment in order to be able to decode and print the news feed.
Another way would be to directly connects to the telegraphic interface - RON signal - and use the teletype as a teleprinter.
I wanted to find the best of breed with a stand alone unit that would able either to play the 'iTTY' stream or to process a WEB page.
Small units ARM are now available of which the 'Rapsberry PI Zero' that can do the trick.
It tooks roughly more than a week to devise such a stand alone unit:
RaspTTY is able to connect to any Internet site on its own in order to process a ressource such as a Web site or a Twitter Feed.
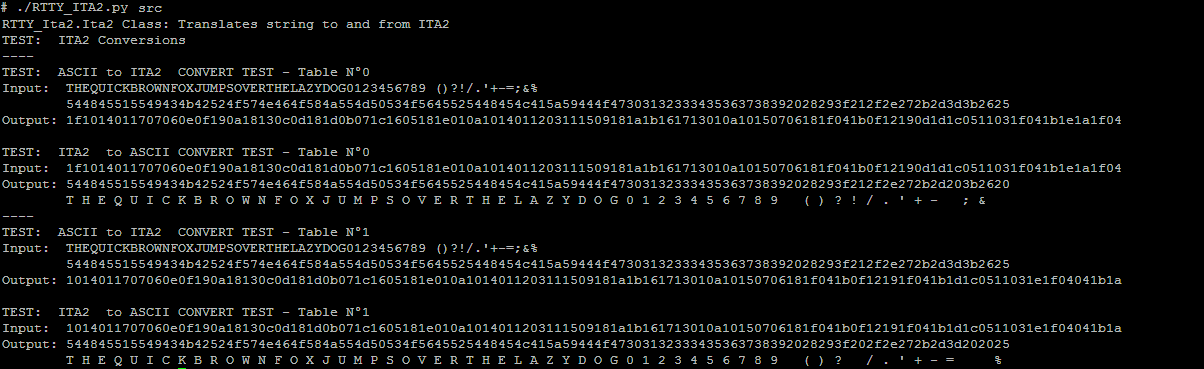
The extracted data is then converted to 'a ready to print' ITA2 encoded text.
It can also get the iTTY stream and play it on its audio output.
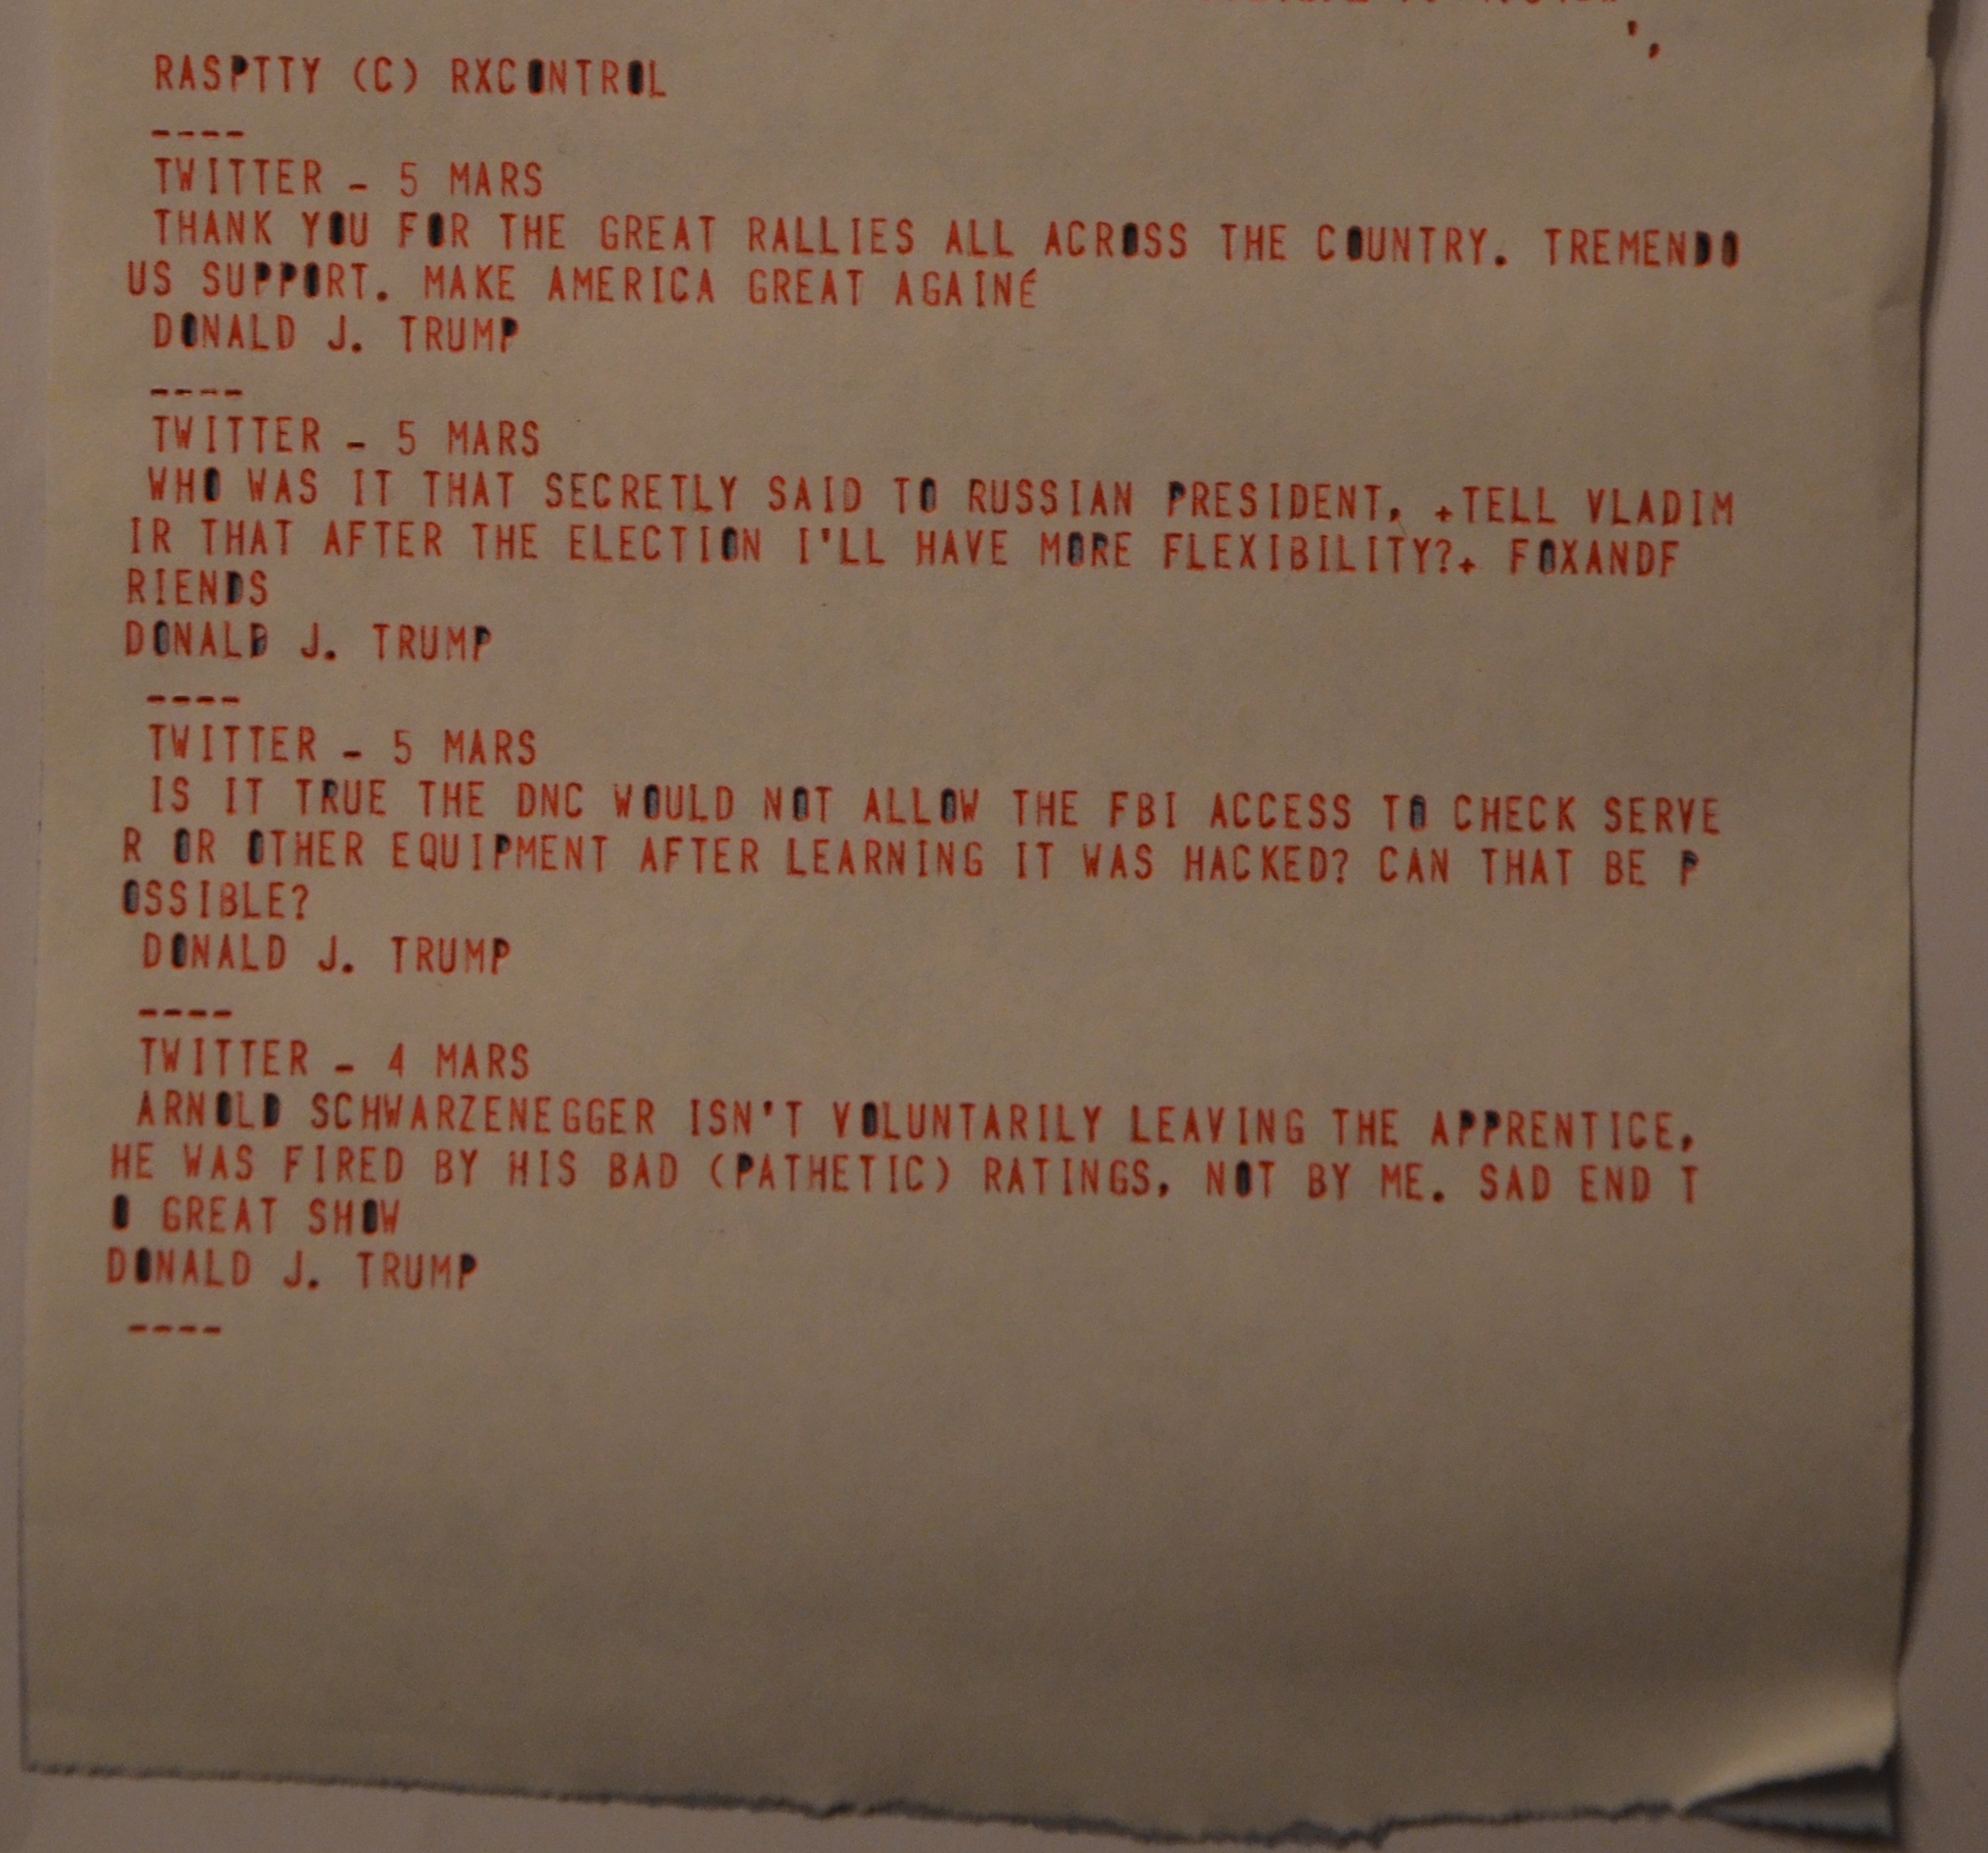
The very first test was to print President Trump tweets the old fashion way on a real Post & Telegraph 'TELEX SERVICE' paper.
The sound of the mechanics and oil smell brought me back more than 35 years ago with my first TTY setup....
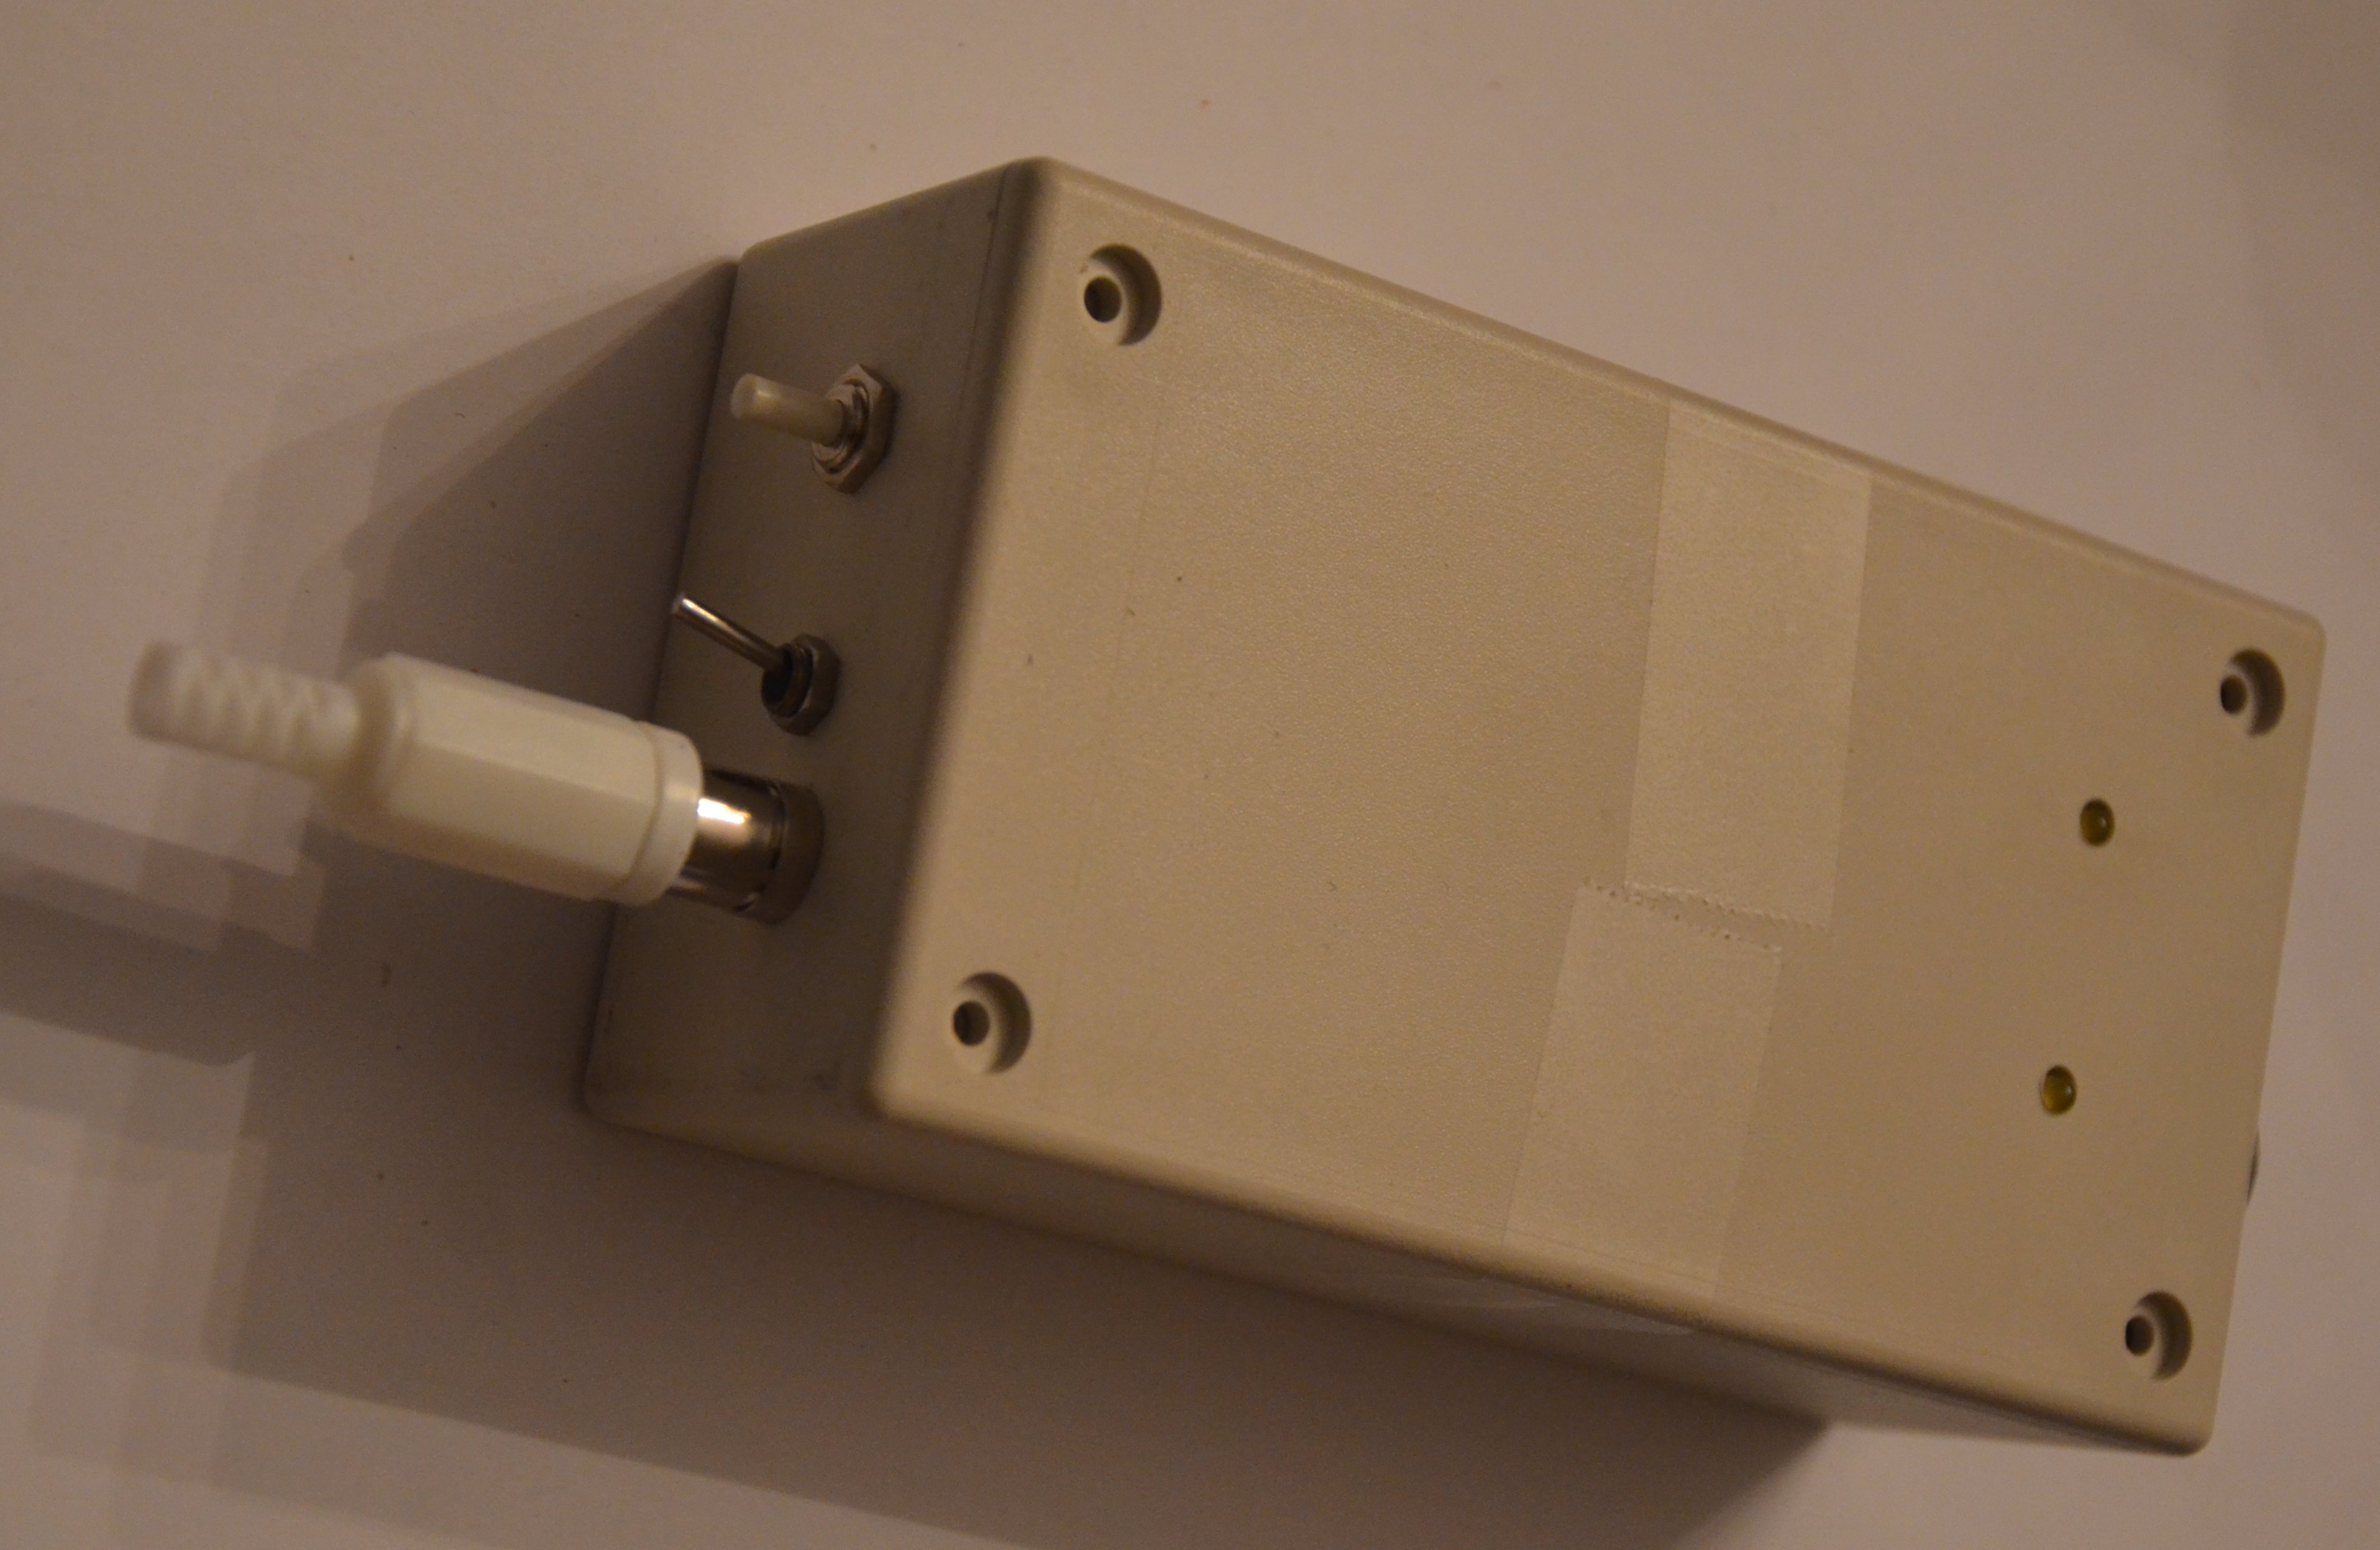
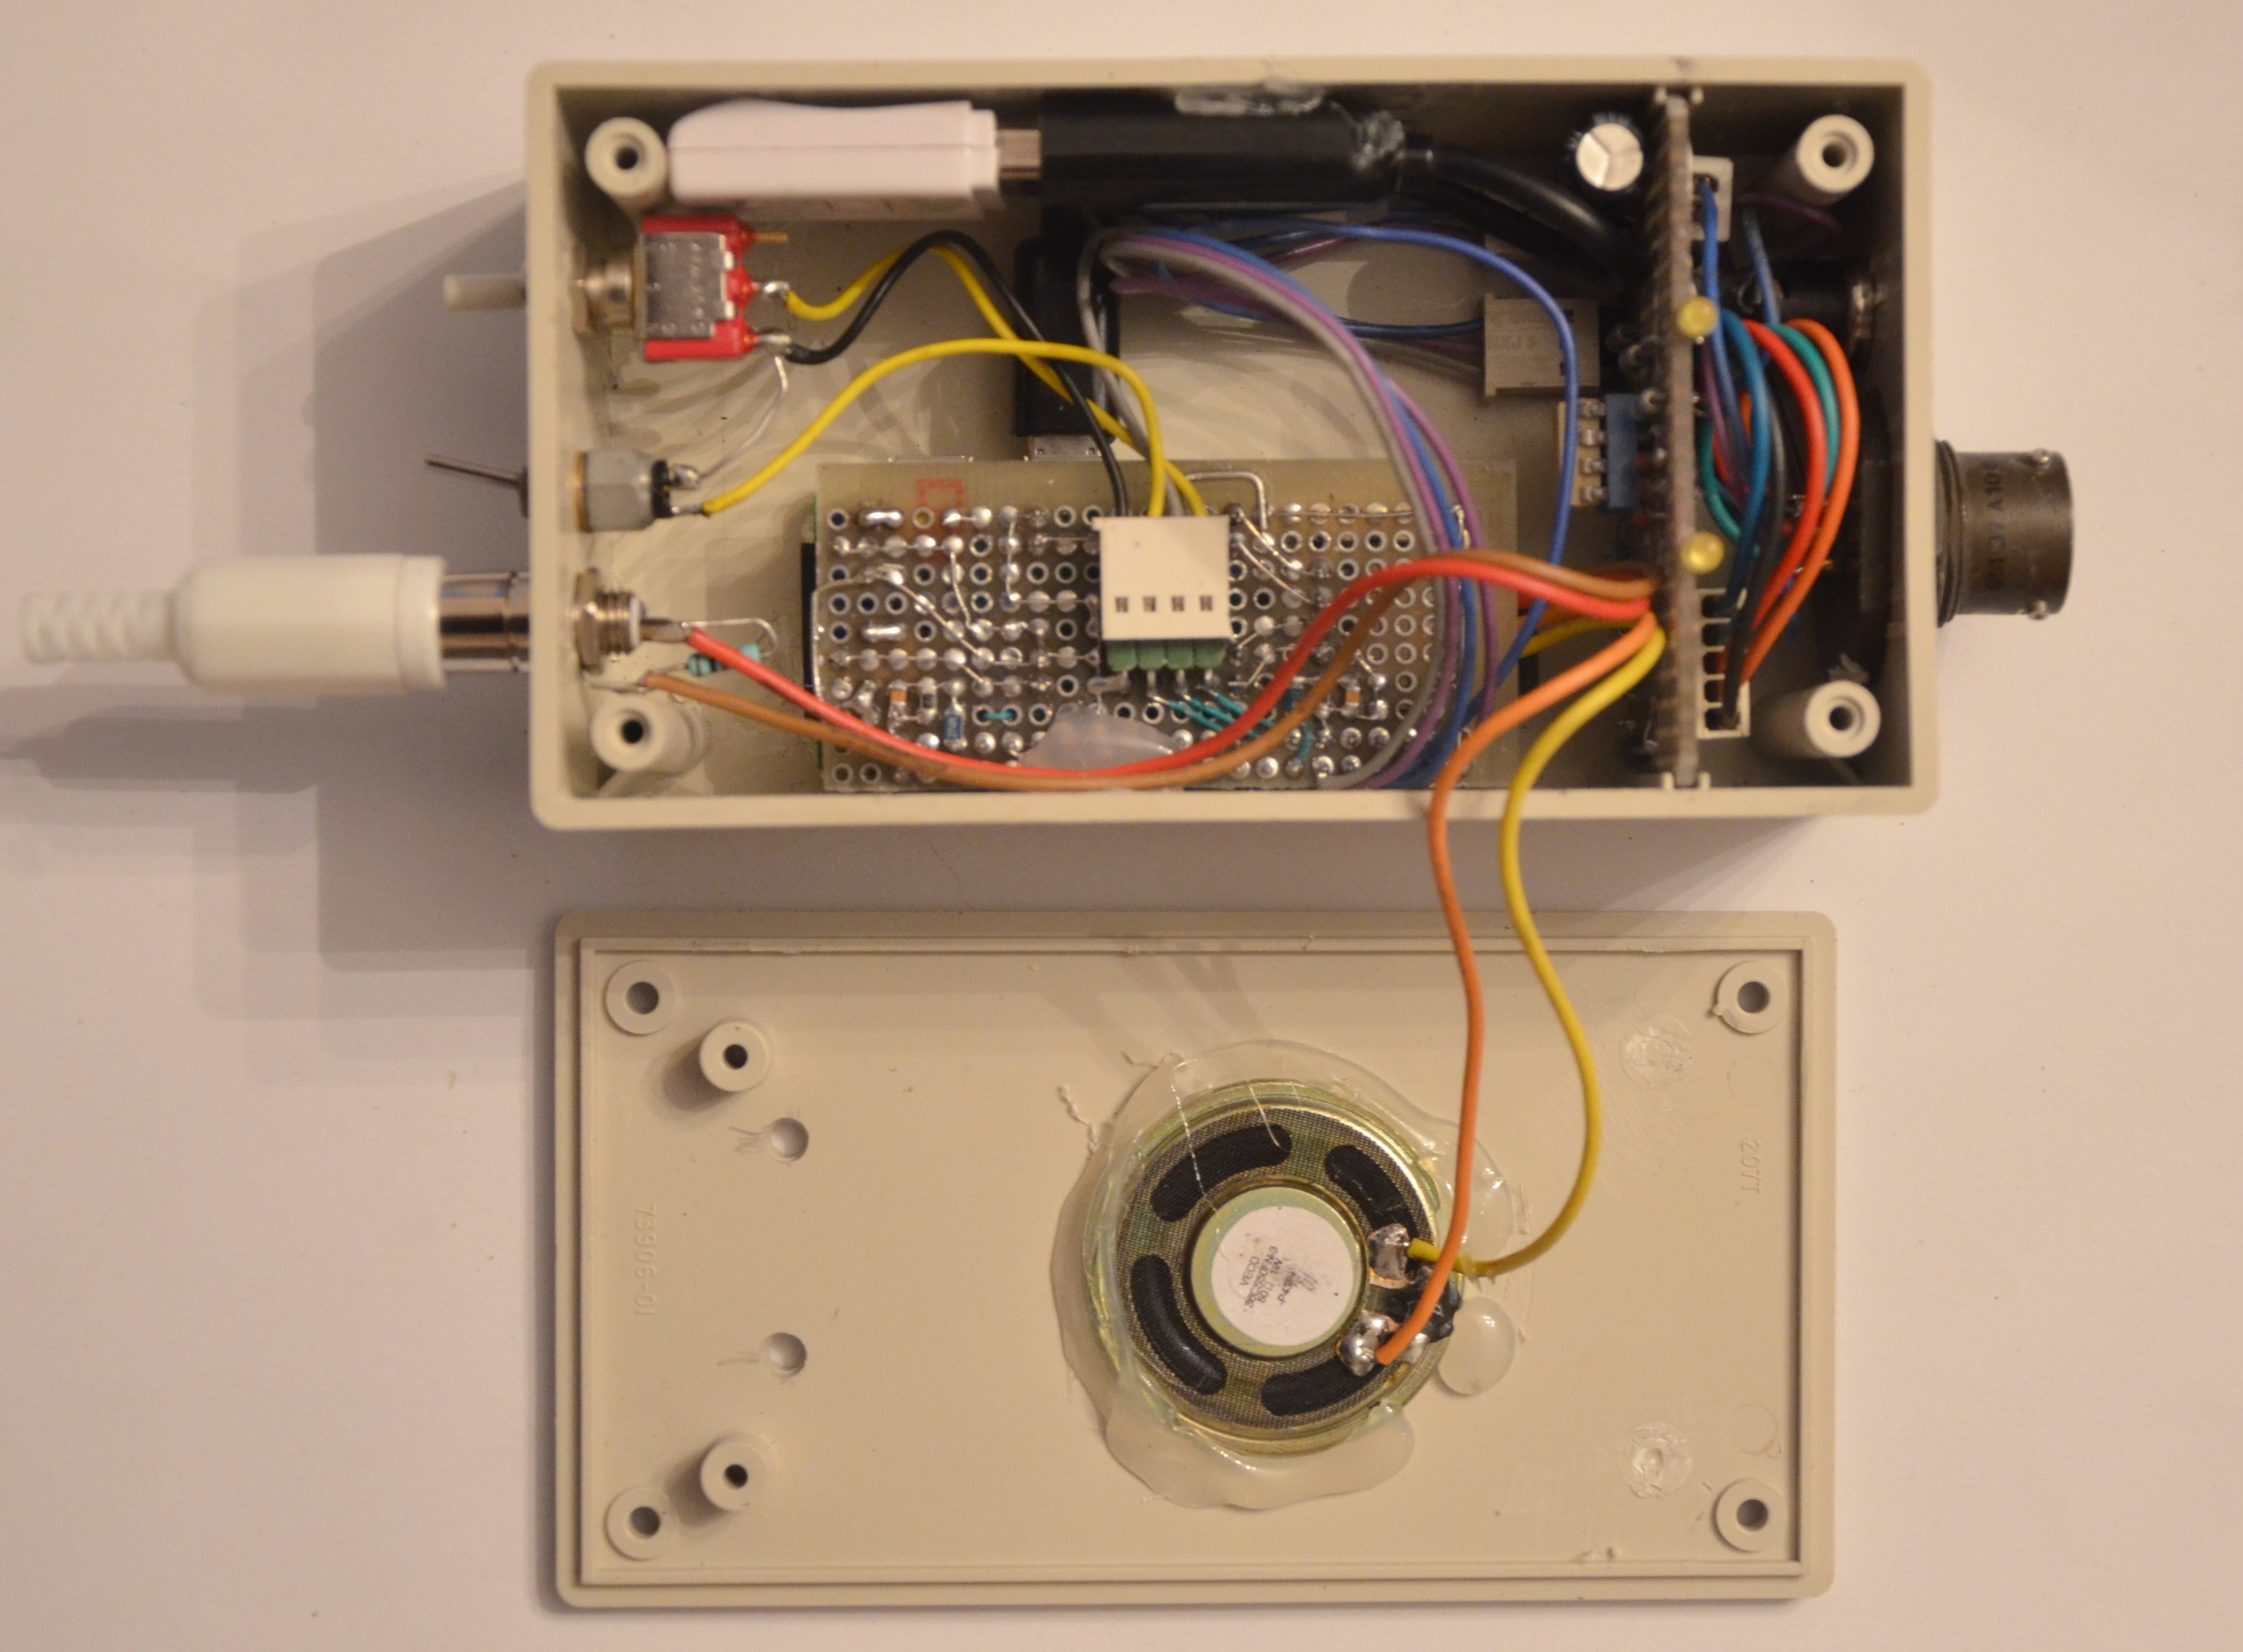
Everything is contained in a small case which exposes:
- a telegraphic interface,
- an audio output,
- a 5V power supply jack,
- two LEDs for the trafic activity display,
- one LED for the processing activity,
- two buttons.
Utilities
Writer.py
This stand alone utility sends all the data typed in the console to the teleprinter through the serial link or audio link ('-a option').
Run via a commande line in a Linux console.

Reader.py
This stand alone utility prints all the data typed on the teleprintter to the console. Can only be used with the serial link.
Printing of data is delayed by 3s due the the serial driver implementation under Linux (character buffering).
Run via a commande line in a Linux console.

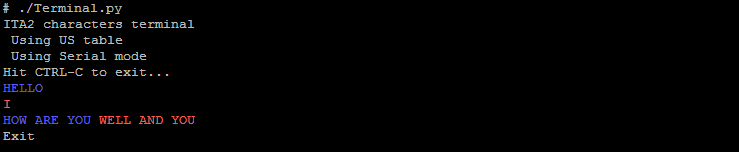
Terminal.py
This stand alone utility acts a small terminal to the teleprintter to the console. Can only be used with the serial link.
Printing of data is delayed by 3s due the the serial driver implementation under Linux (character buffering).
Run via a commande line in a Linux console.
web/server.py
This stand alone utility starts a terminal WEB server on port 8080.
Run via a commande line in a Linux console.

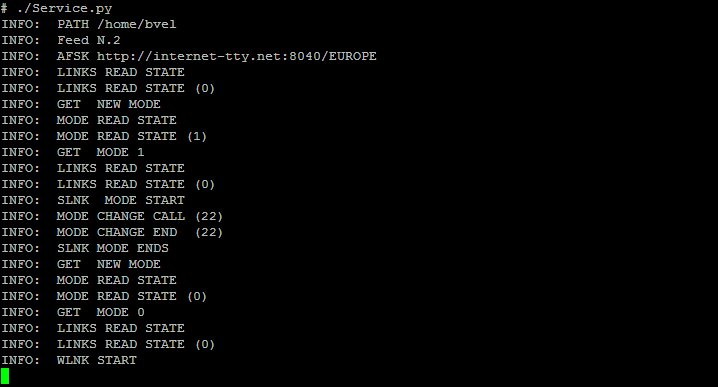
Service.py
This utility can be started as a daemon or as a commande line.
It offers four different services depending on the used link (serial or audio).
A push-button generates an event that is linked to the raspbian 'halt' operation.
Status or error information goes on the audio line as speech synthetised audio messages.
A switch button allows for selecting one of the two configured services for each modes.
- When directly connected to teleprinter via the serial link:
- Starting a Terminal WEB server which listen on the TCP/8080 port: One can send data to the teleprinter through any WEB device or read the text typed on the teleprinter.
- Getting last news from one of the four defined WEB services: Here the site text content is extracted, converted to ITA2 charset and then sent to the serial line as 5 bits words using the 50bds speed.
- When directly connected to teleprinter via the audio output:
- Reading the iTTY stream. The 'iTTY' stream is played through the audio line. This can be used to feed an AFSK modem connected to the teletype.
- Getting last news from one of the four defined WEB services: Here the site text content is extracted, converted to ITA2 charset and then sent to the audio line as FSK modulation.
The site can be selected through the 'config.ini' file.
An opto-isolated interface is used.
The Raspberry IO port 24 should be tied to the ground.
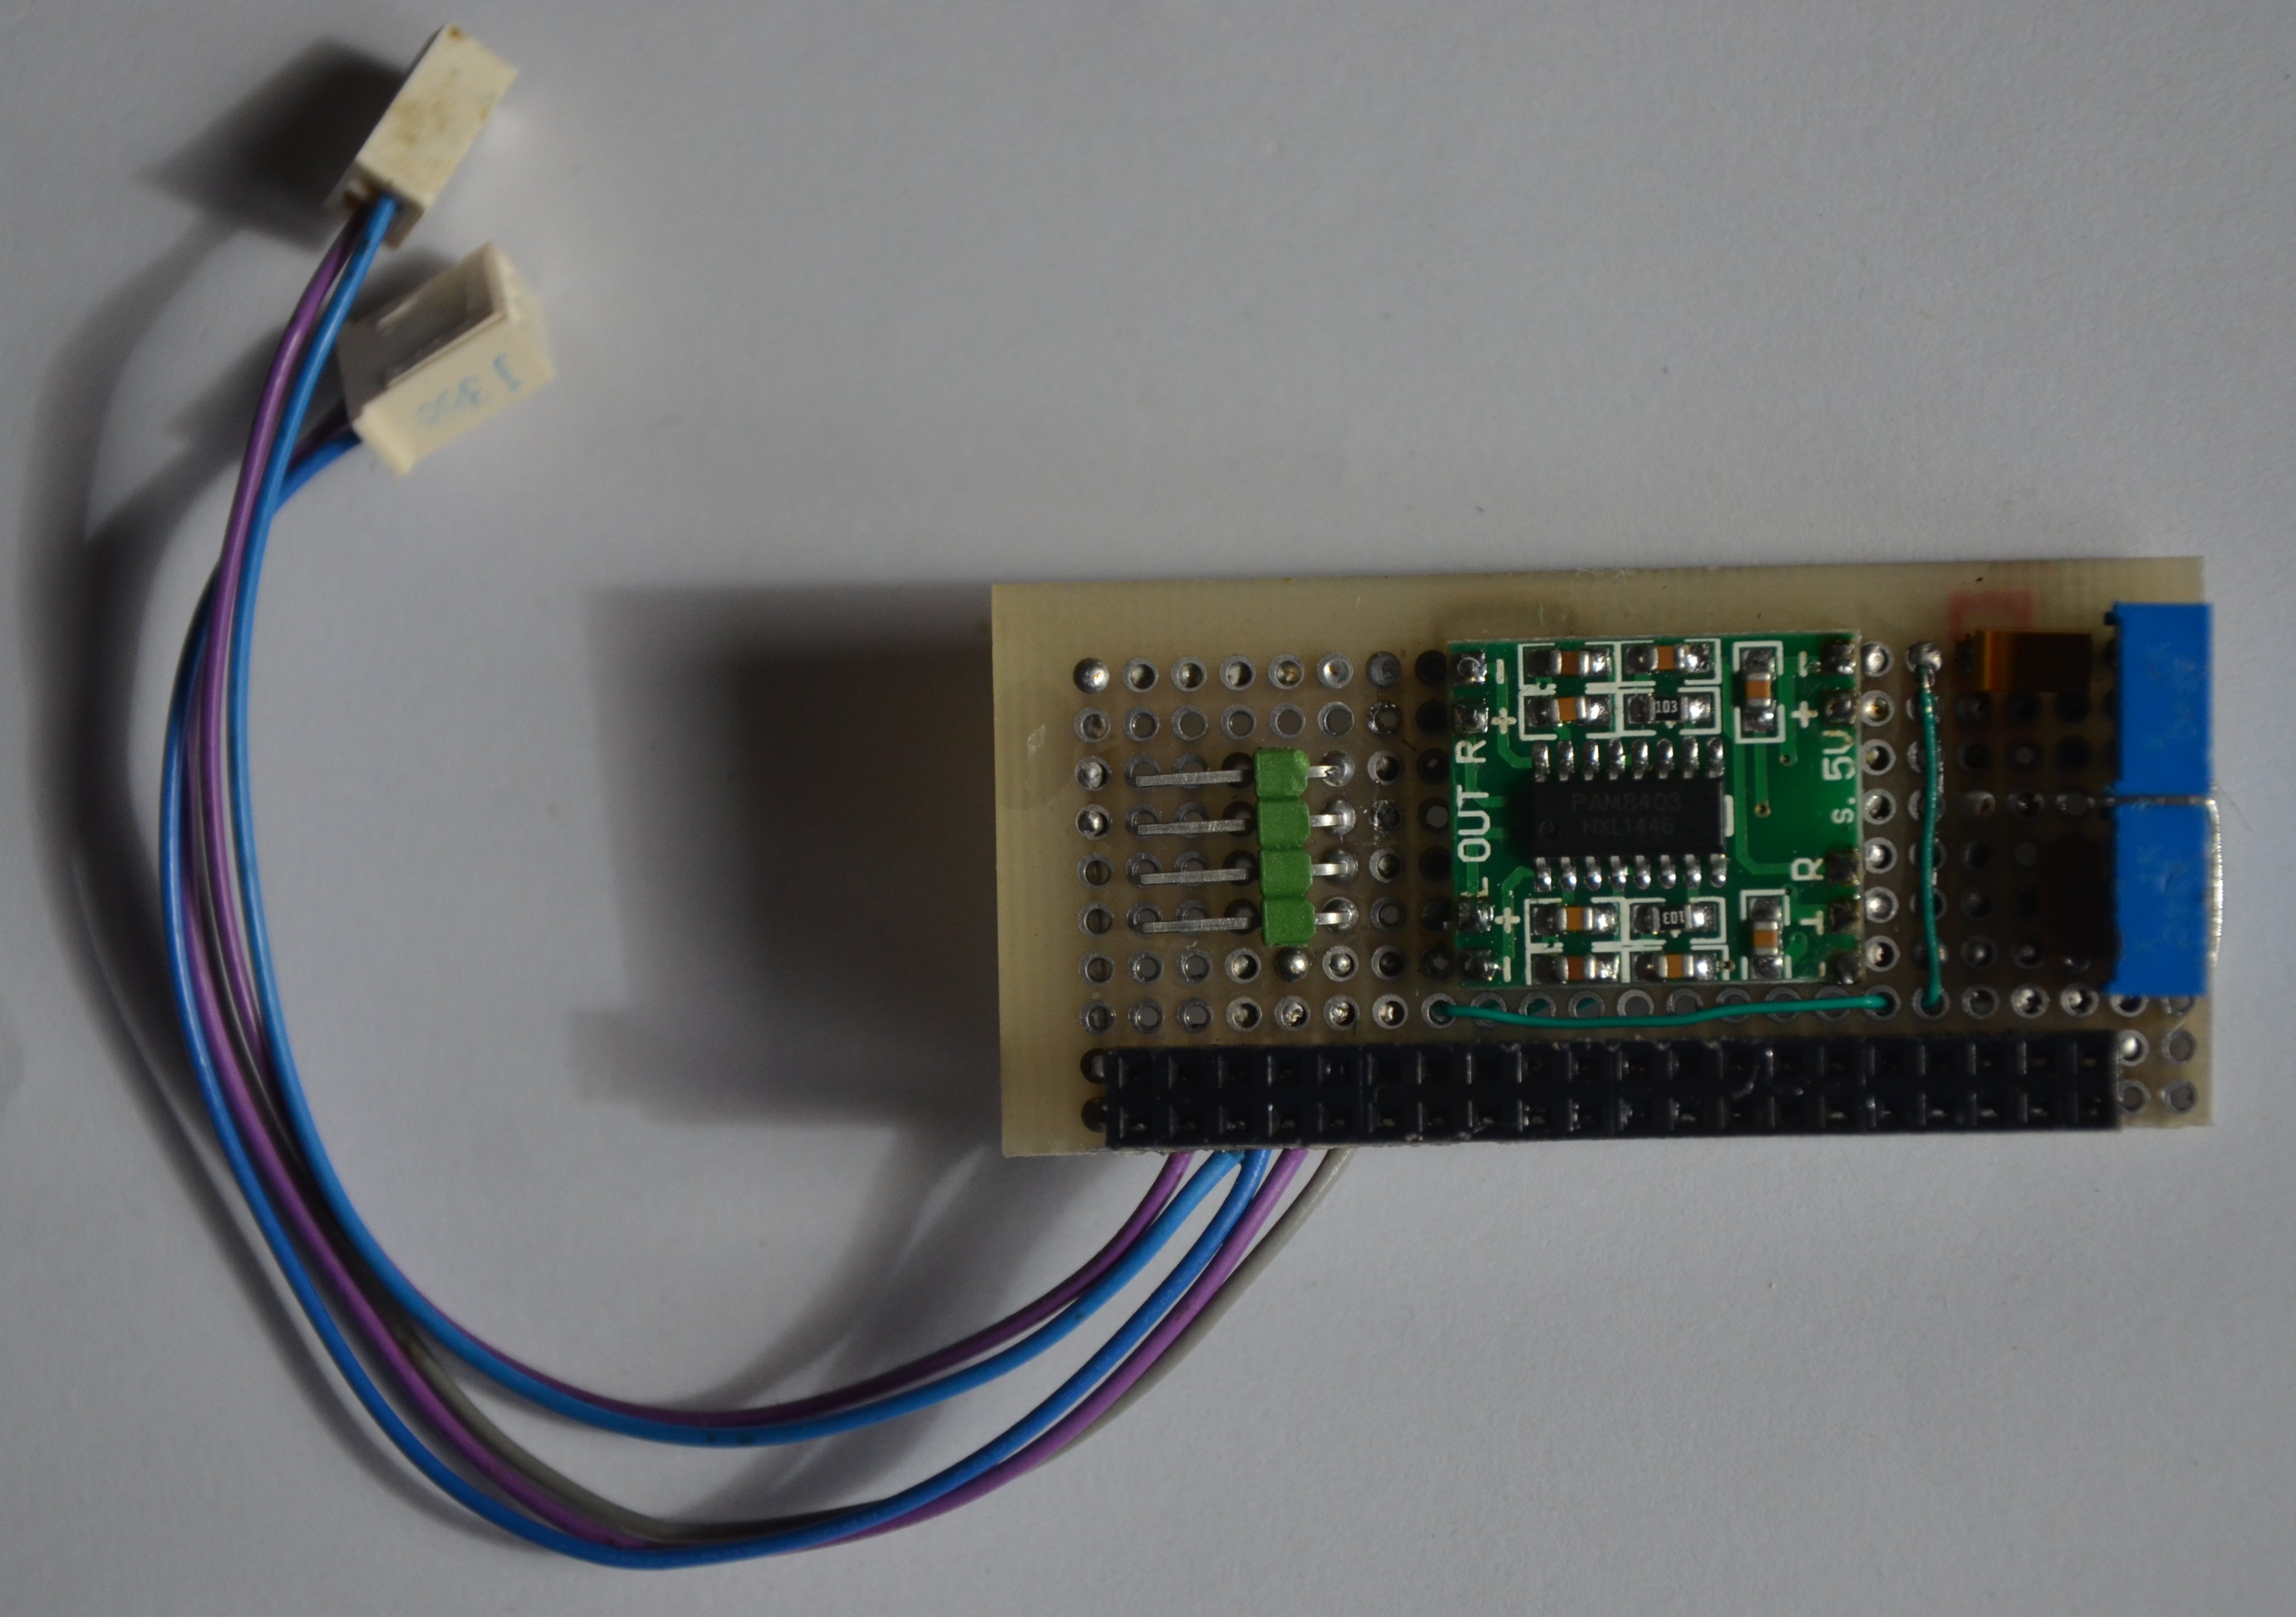
The RPI0 PWM0 and PWM1 outputs are used. They are filtered and connected to an audio amplifier.
The site can be selected through the 'config.ini' file.
The site can be selected through the 'config.ini' file.
The Raspberry IO port 24 should be left opened.
Raspberry PI zero configuration
- Activity led routed outside the PI,
- Audio PWM wiring modified,
- Bluetooth disabled on PI Zero W as it uses the PL011 UART,
- UART enabled.
This file can be copy under the '/boot' directory on the SDCARD.
Here is our config.txt which works on Rpi Zero and RPI Zero W:
# ------------------------------------------------
# minimal /boot/config.txt
# ------------------------------------------------
# Disable BT on pi0W as it uses serial
dtoverlay=pi3-disable-bt
# ------------------------------------------------
# UART enabled
enable_uart=1
# ------------------------------------------------
# Load for USB gadget and activity led route
dtoverlay=dwc2
dtoverlay=activityled.dtb
# ------------------------------------------------
# Enable audio and route PWM to alternate
dtparam=audio=on
dtoverlay=pwm-2chan,pin=18,func=2,pin2=19,func2=2
# ------------------------------------------------